align your spine - check your alignment

Regardless of if you are a new or a seasoned mum, alignment is such an important factor in your health and well-being. When you carry a child for 9 months the core and pelvis go through significant changes and they don’t necessarily spring back to the way they were, especially if you are breast feeding. Poor alignment and posture can lead to a variety issues including back pain, pelvic pain, urinary incontinence/leaking, hip and knee pain and neck ache. So my advice to you is CHECK YOUR ALIGNMENT!!

What is good alignment?

The BEST alignment to provide strength and support to your body and its systems is ribs over hips. This means don’t round your shoulders, don’t stick out your chest and don’t stick out or tuck under your bum.

Take a picture of yourself in tight clothes or underwear to see how you compare. Look out for the pointers above to see if you need to work on your alignment.

ROUNDING YOUR SHOULDERS

When you are breastfeeding you tend to be in a constant rounded shoulder position. If your baby is anything like my daughter Eden, they feed every 2 hours and you could be in that position for 30 mins or longer. That is a long time out of your day. The best thing to do is make sure you are seated and supported as best you can be to prevent a slumped/rounded position. If you already notice you tend to round your shoulders you can make some adjustments to help bring them back to an optimal position. Start off with some chest stretches like a standing wall stretch or a seated chest stretch. Strengthen your upper back with a resistance band. You can so back rows and back fly with a band or with dumbbells if you have them.

STICKING OUT YOUR BUTT OR CHEST

After carrying a baby for nine long months your abdominal muscles weaken and can cause your lower back and hip flexors to tighten causing your body to compensate for this adjustment. In doing so you tend to sick out your butt, drop your hips down and lift your chest. This puts a lot of pressure on your back and pelvic floor. To help realign you will need to stretch out your hip flexors with a kneeling lunge stretch, foam roll your hip flexors (or use a tennis ball to release some pressure). Strengthen your glutes using a glute bridge so you don’t activate your hip flexors too much.

TUCKING YOUR BUTT

I see a lot of this at the gym when I see people at the top of their squats. Over activating the glutes and forcing a squeeze at the top. There is also a lot of bum tucking when we carry our children on the front of our body. When we push our hips forward we create tension in our pelvis and pelvic floor causing the muscles to tighten. Pay attention when exercising and carrying your child not to do this and focus on keeping your hips in a neutral position (under the ribs). Strengthen your lower back with superman or baby cobra and stretch out your glutes with a pretzel stretch (or figure 4 stretch).

RECONNECTING WITH YOUR CORE.

To reconnect with your core and alignment it takes practice and constant reminders, along with learning how to breathe properly and deep into your pelvis. Check in your alignment throughout the day and take a new picture every two weeks.

To breath efficiently follow these steps;

·         Sit on a chair and pull the flesh from under you so you feel your sit bones directly under you.

·         Make sure you are in good alignment with your ribcage directly on top of your hips.

·         Place one hand on your belly and the other on your ribs.

·         On your inhale breath, breathe into your ribs, belly and pelvis. Imagine your rib cage inflating, your hip bones getting wider apart and your pelvic floor softening.

·          As you exhale, feel your belly move in and your belly button rising up towards your ribs. Feel as you scoop up your pelvic floor, tighten your abdominal muscles and blow the air out through pursed lips.

Learning how to effectively breathe is the first step to connect with your core and ensure proper alignment is kept. Remember postpartum fitness is NOT a race. Slow and steady will ensure lasting positive results.

If you need help staying in check, follow me on instagram and tag me in your pictures @fitandeats or #fitandeats

Enjoy fellow mamas, stay healthy!


Please remember to consult with a medical professional before entering into a new workout regime.


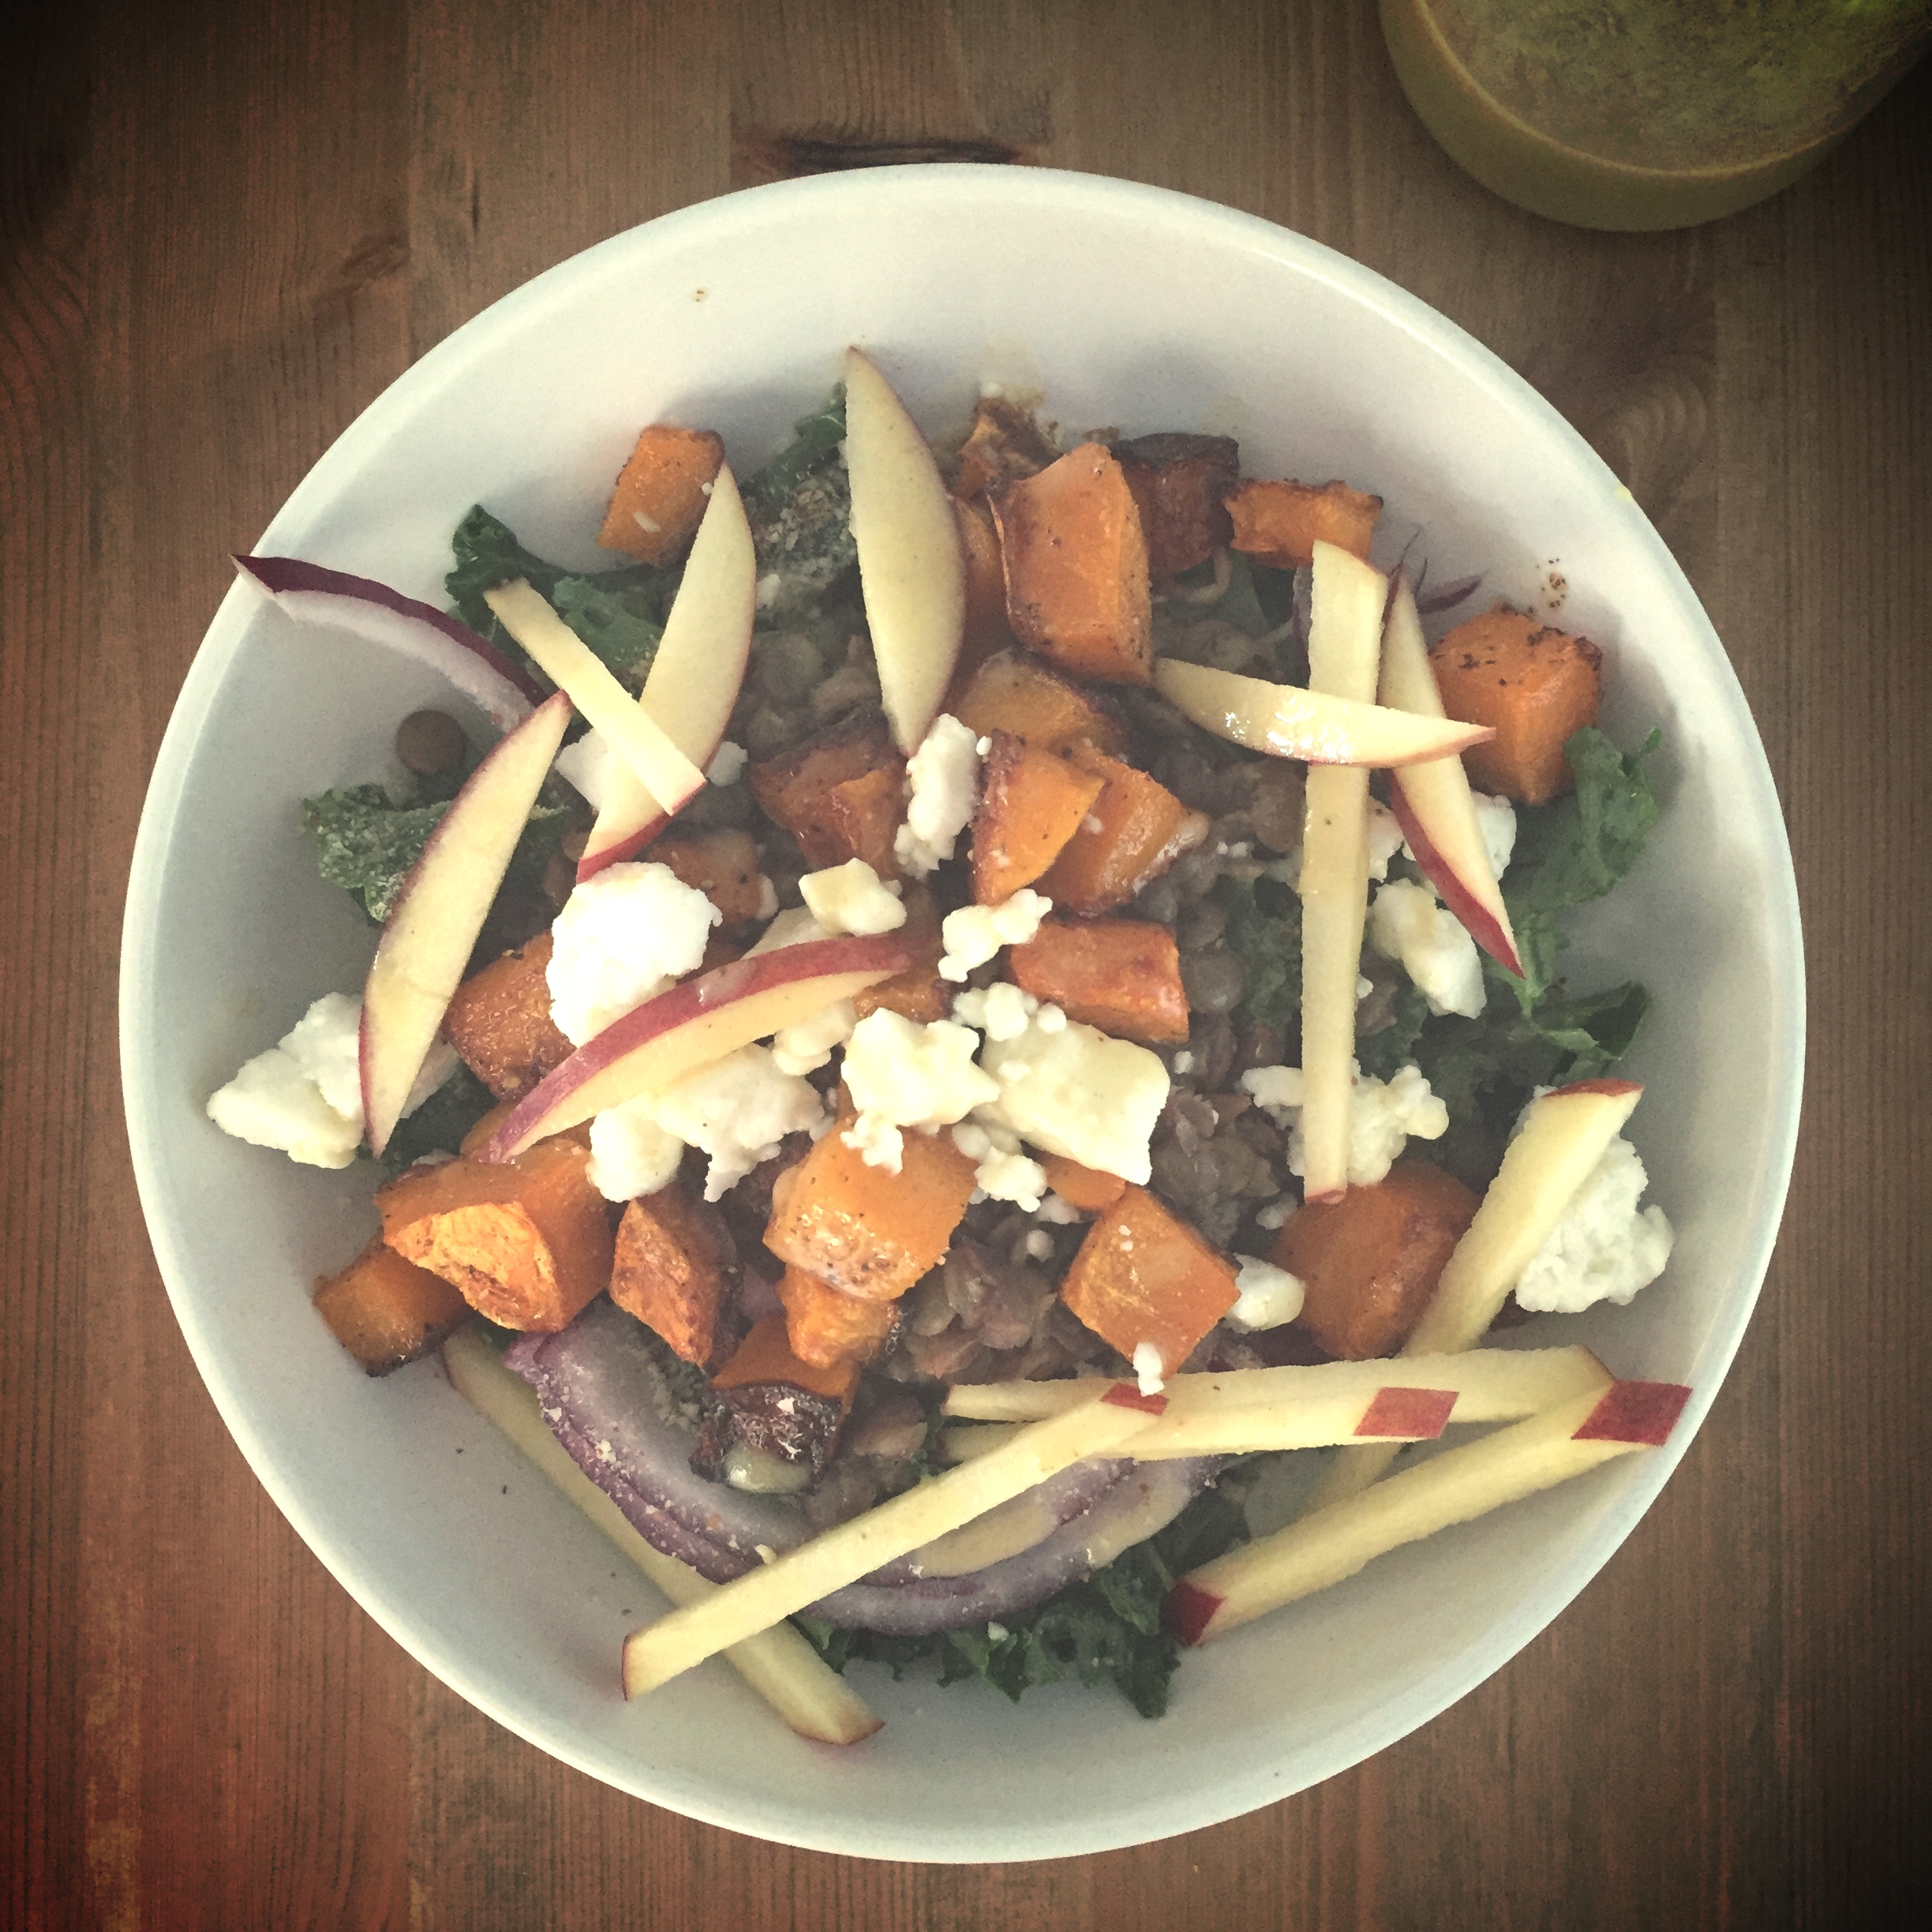
hale to the kale.....breastfeeding mamas salad

To all you breastfeeding mamas out there it can be very daunting knowing what you can and can’t eat for your baby! Knowing what to put in your body to benefit your new baby is definitely top of the list (for me at least).

We have carried these little humans and protected them for nine long months, now they are here, their needs are changing and you will notice they react differently according to what you eat. Did what I ate last night make them gassy? Is that rash on their face because of me? Do they have an ear infection because of MY eating habits?? MAYBE it is and maybe it isn’t. When I was breastfeeding I found myself scrolling through countless articles and books to make sure I was doing everything right. I would watch what I was eating and make sure Eden didn’t have a reaction over the next few days.

Good news is this salad is perfect for breastfeeding mamas as it cover all the nutritional bases. If however you have hypothyroidism you need to be a little weary of kale as it is does contain goitrogens when eaten RAW. So depending on your nutritional needs (please check with your healthcare provider) you may be able to steam it first and have it as a warm salad, or substitute for spinach or romaine lettuce.

Foods a breastfeeding mama should be including in their diet are;

  1. Dark Leafy Greens
  2. Good Quality Protein
  3. Healthy Fats
  4. Complex Carbohydrates

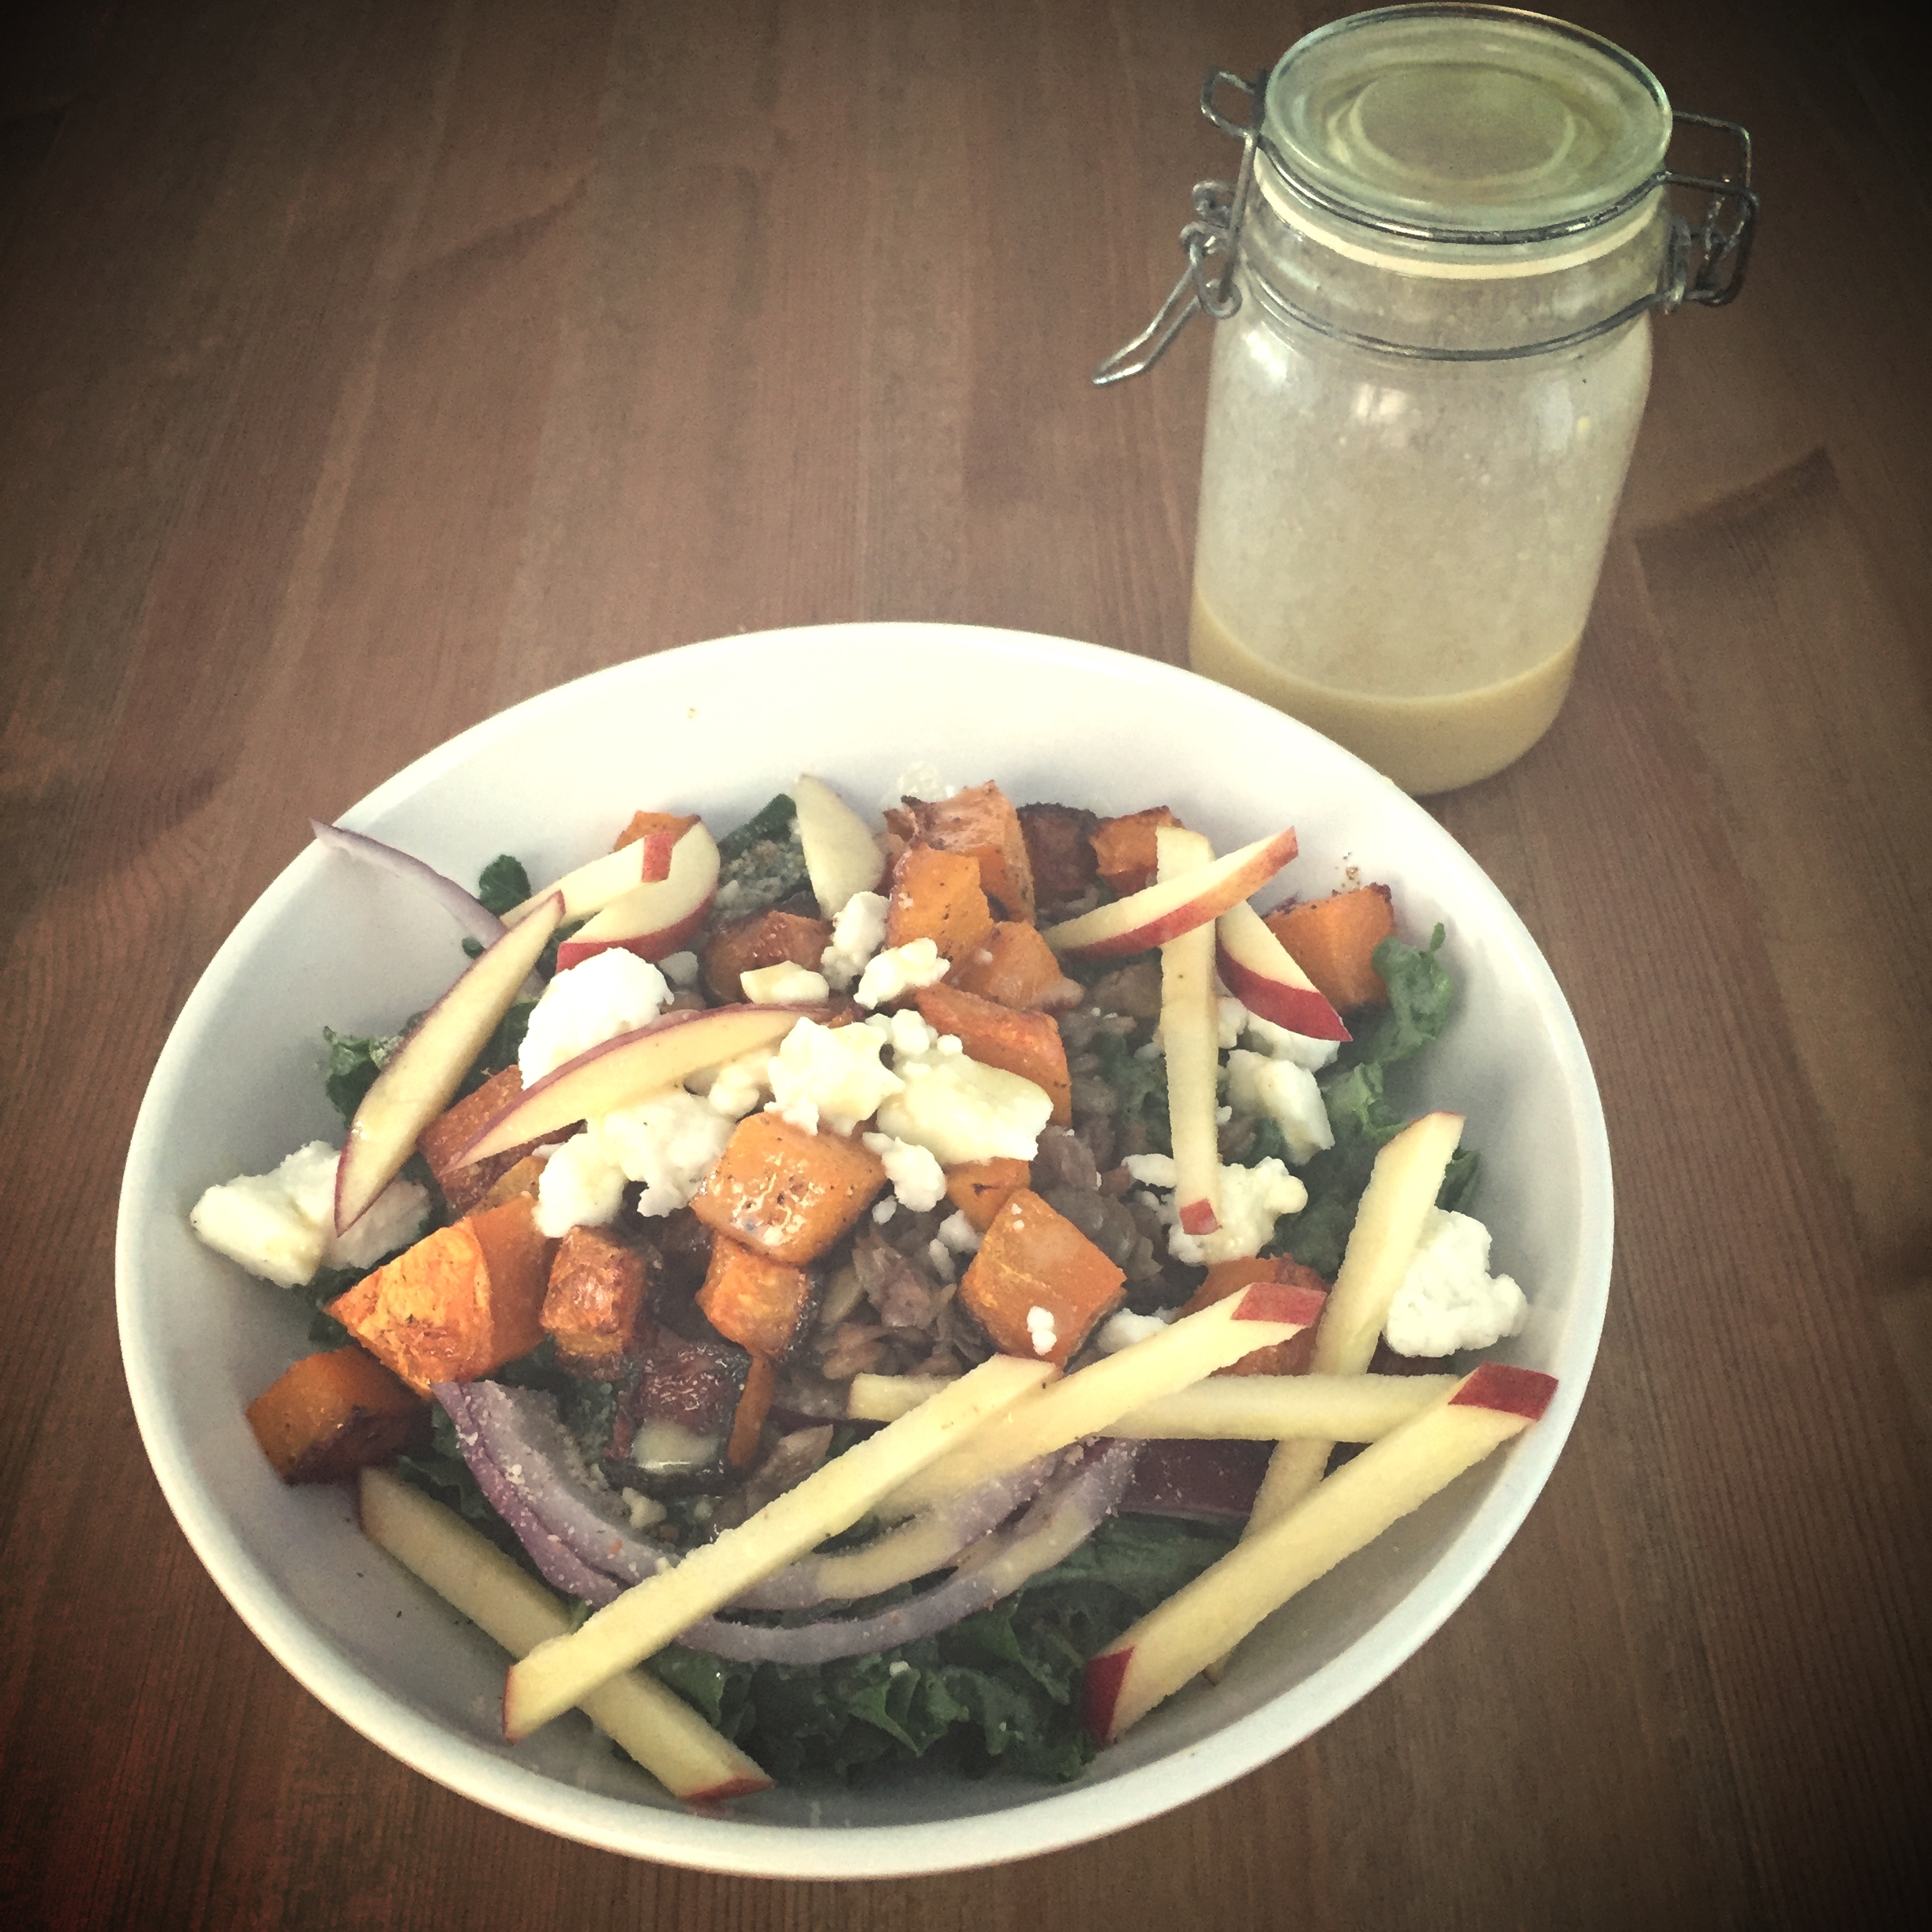
Ingredients (serves 4-6)

  • 8 cups kale
  • 2 cups cubed and roasted butternut squash
  • 1 cup cooked green lentils
  • 1 green apple sliced into sticks
  • 1/4 cup red onion
  • 1/4 cup crushed almonds
  • 4 tbsp. goat feta

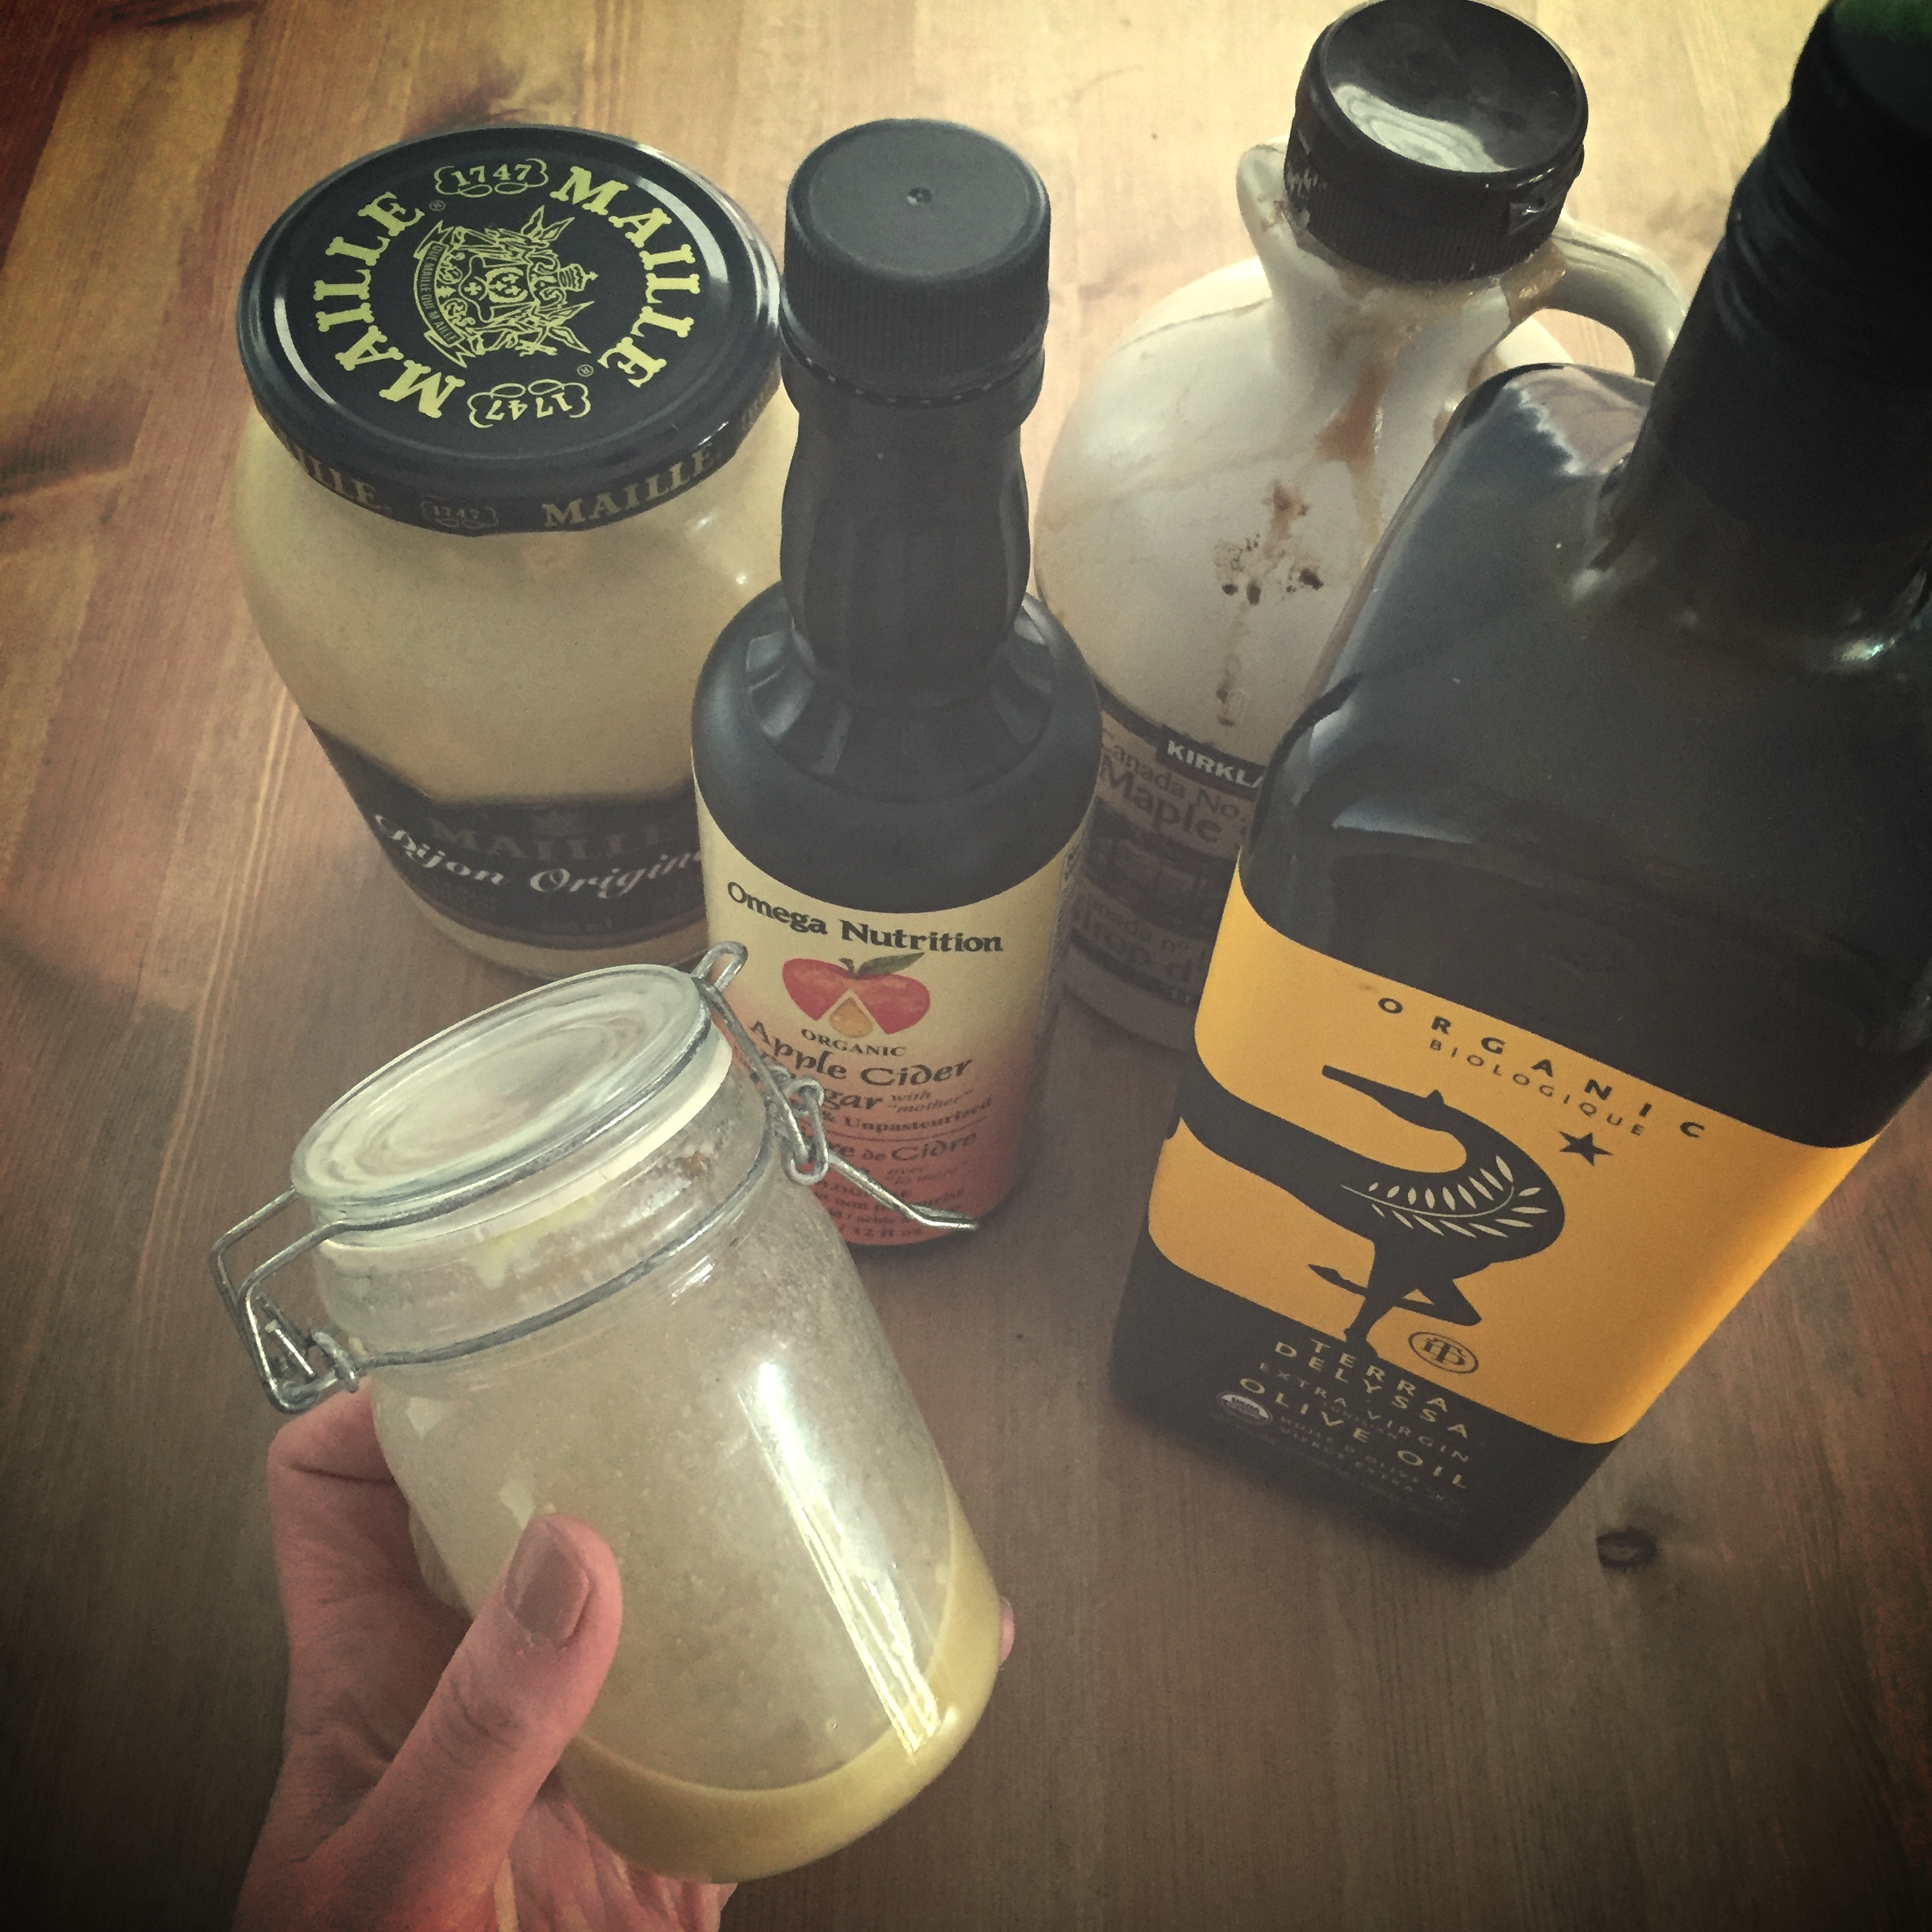
Dressing

  • 1/4 cup extra virgin olive oil
  • 2 tbsp. apple cider vinegar (with the mother)
  • 2 tbsp. dijon mustard
  • 2 tsp. maple syrup

Method

Roast the squash ahead of time, sprinkle the cubes with olive oil, salt and pepper and roast for 20-30 mins @375 until tender. Let them cool. Boil the green lentils using the instructions on the package (usually simmer on low for 30 mins).

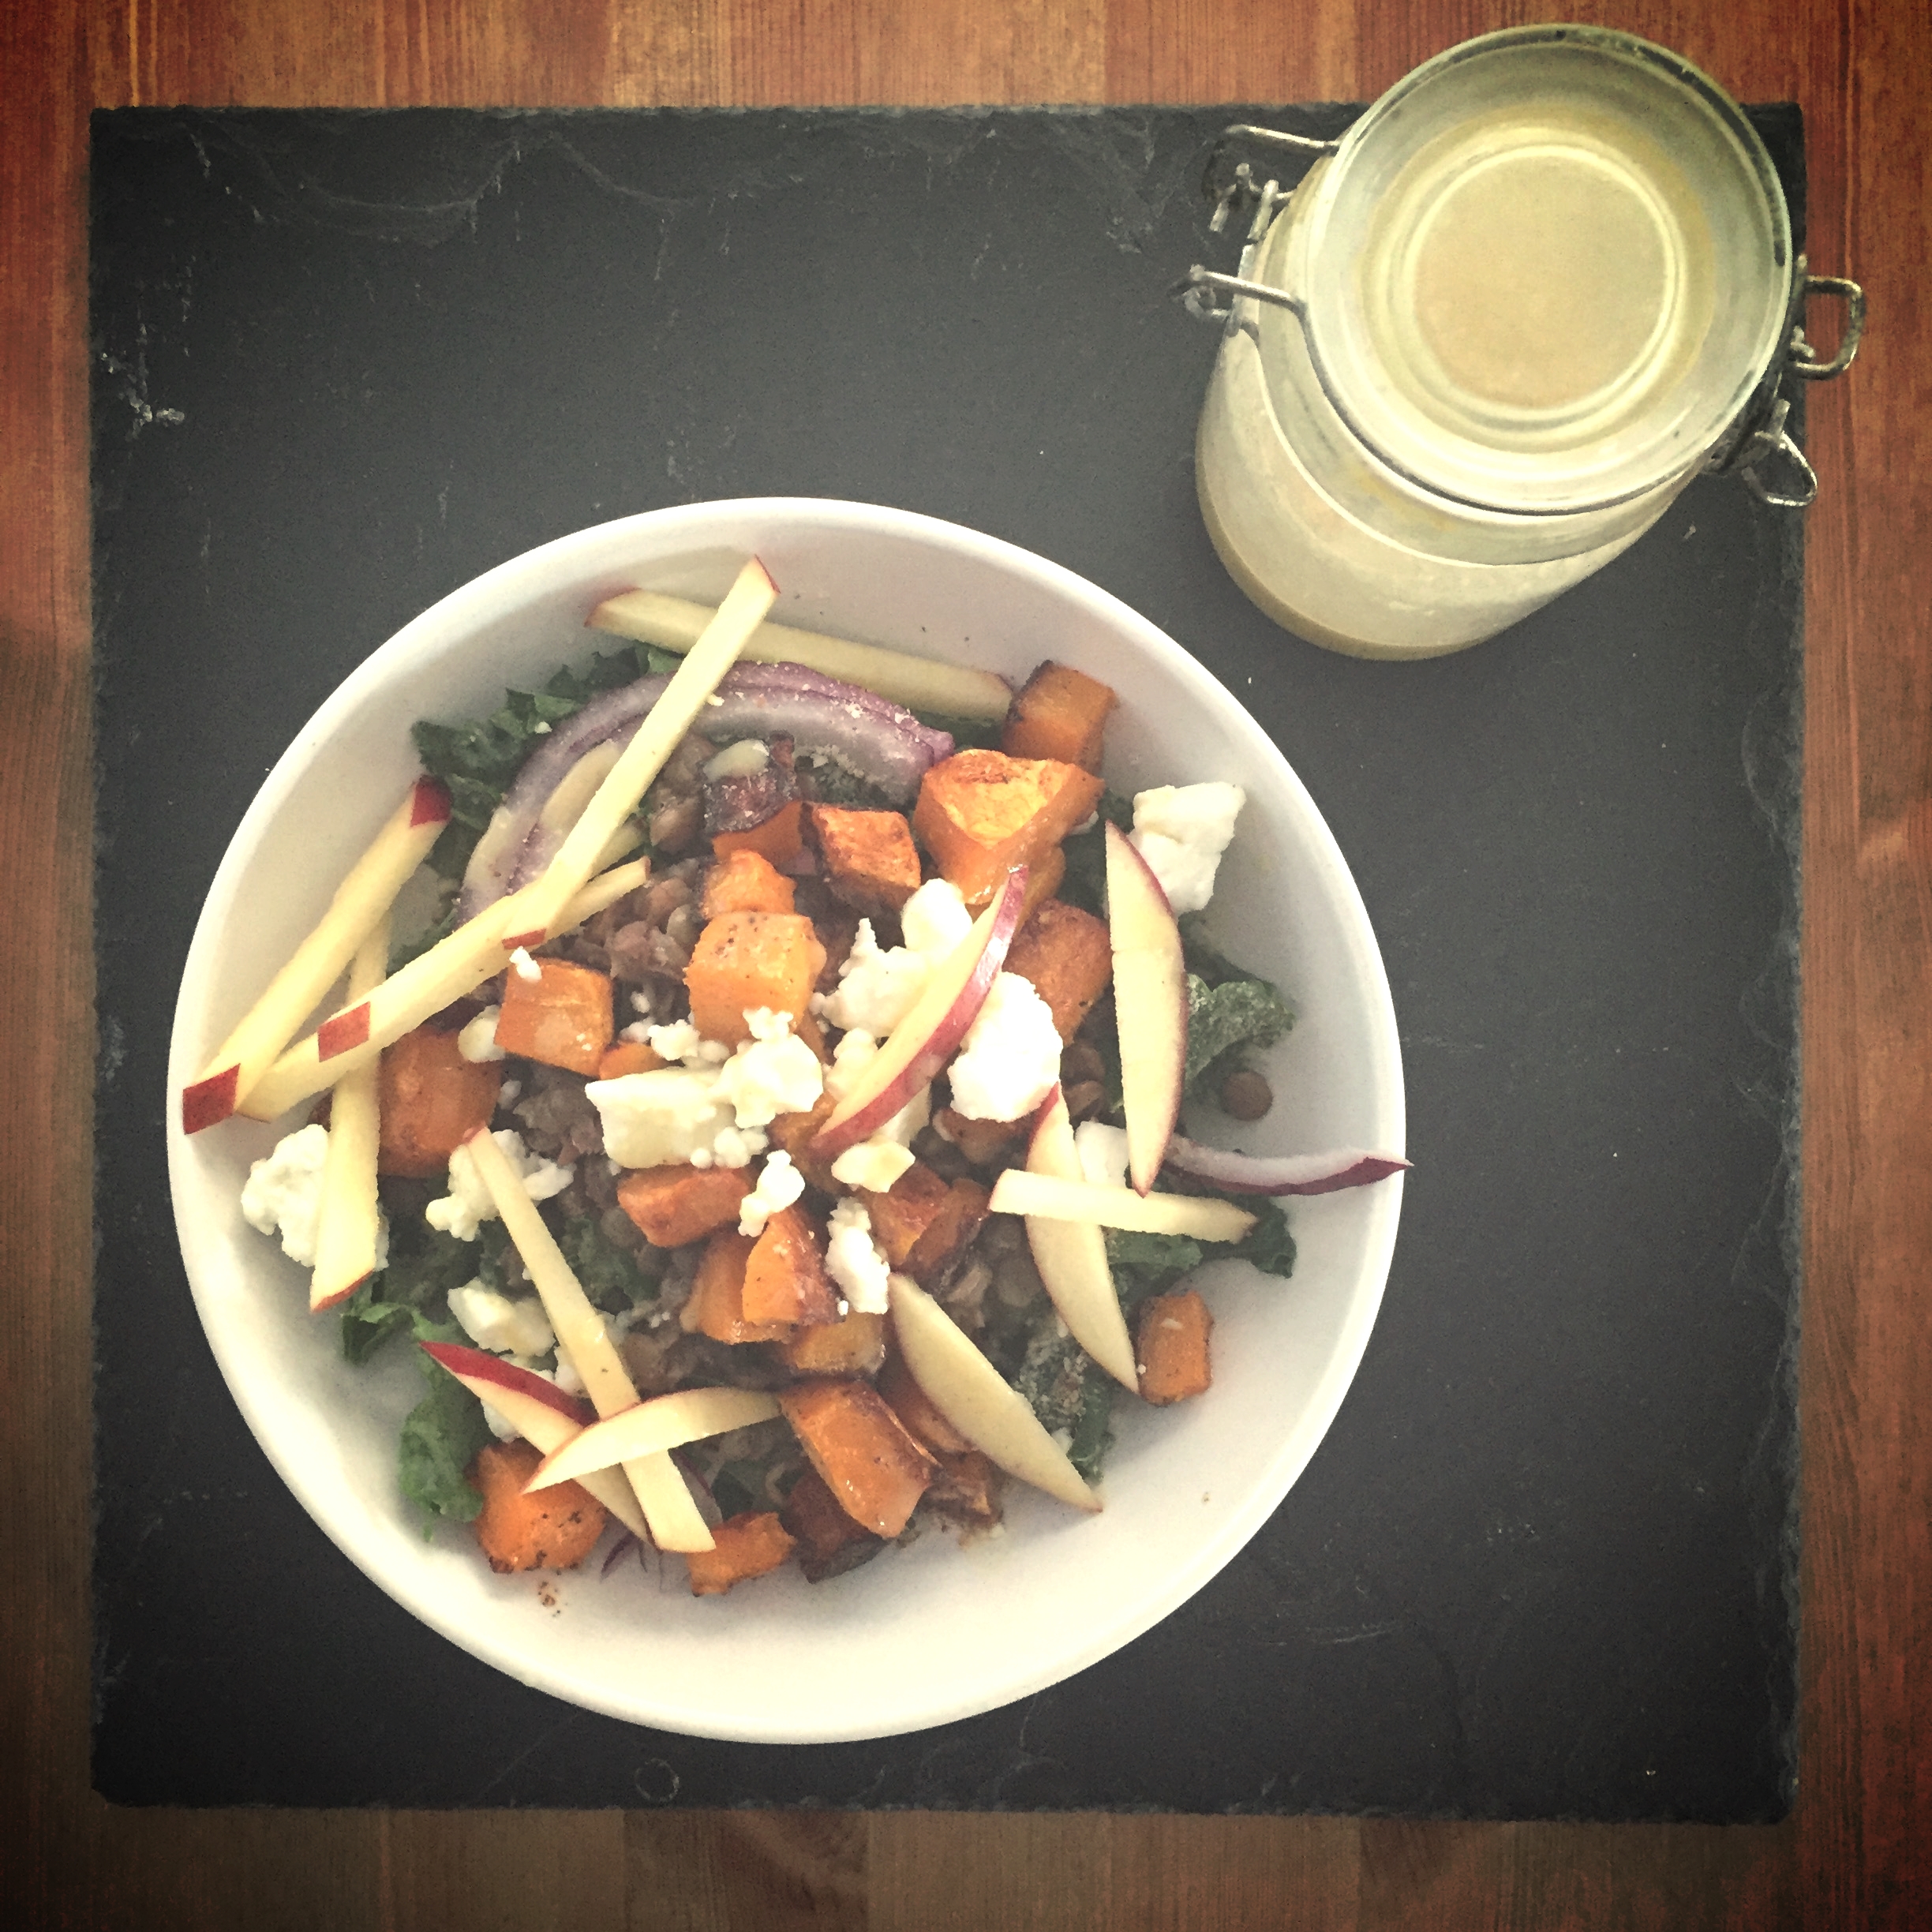
Layer all the ingredients on top of a bed of kale, add the dressing and serve. It is great as a meal or you can use it as a side salad with grilled chicken or a white fleshed fish.

p.s. I like to prepare the whole butternut squash and extra green lentils ahead of time so there are leftovers for other meals throughout the week.

Also, big shout out to my mother in law for the home grown kale!!

the mighty push-up

The mighty push-up or press-up as known in some countries. A great FULL body exercise used by many personal trainers and fitness professionals across the world. Most people know it as a chest exercise, which it is...but it can do so much more when done correctly. When done in a high plank position, the body needs the core, glutes, anterior delts, triceps and hamstrings to stabilize the position. So why are so many people doing the ‘lady’ version...when your knees are on the floor?

To me, the ‘lady’ push-up seems counterproductive and sexist to say the least. Why should this version be named after us? AND why are we still doing them? Not only does it take out the lower body element, makes it really tough to activate your core effectively, but it also renders it seemingly impossible to progress into a full push-up.

Follow these simple progressions to help you through any phase in your life;

The wall push-up – A GREAT exercise to use when you are pregnant as you can activate your core without adding to much pressure to your abdominal wall. It uses your full body whilst strengthening and toning your upper body. For an added challenge, use a stability ball between you and the wall. Not only can you do this when pregnant but if you suffer from Diastasis Recti (DR) too. Include these into your program once you have completed a few foundation moves and can effectively activate your core muscle group.

The incline push-up – Once you find the wall push up easy and you are not pregnant, you can progress into the incline push-up. The great thing about the incline push up is you can pick a level that suits you and adapt it as needed. Most people have a staircase in their house and this is where I tell most of my clients to do their push-ups. Pick a step that is challenging but where you are able to maintain form and reduce the level when needed until you no longer need a step. This is by FAR the best way to learn how to do a full push-up.

IMG_3792.JPG

The full push-up – Not an easy move and not to be done if you suffer from DR or are pregnant as it can increase the gap between your abs (stretching the linea alba). The key here is to keep your bum down, but not dipped (maintain a flat back by pulling your abs in towards your spine). Don’t T your arms out to the side, keep a 20-40 degree angle from your torso to your upper arm (this applies to ALL push-ups explained above). Lower as close to the ground as possible, PAUSE and return to the top.

The decline push-up – Not for the faint hearted! Definitely an advanced move for us mamas who are well beyond our postpartum phase and have zero separation of the abs. I’m not great at them myself but it is something I’m working on. Adding a step to your feet will increase the use of shoulders and upper chest.

Have fun with exercise and don’t be afraid to try new things…If you HATE push-ups because they are so hard, try one of these versions to keep you on track!

BONUS

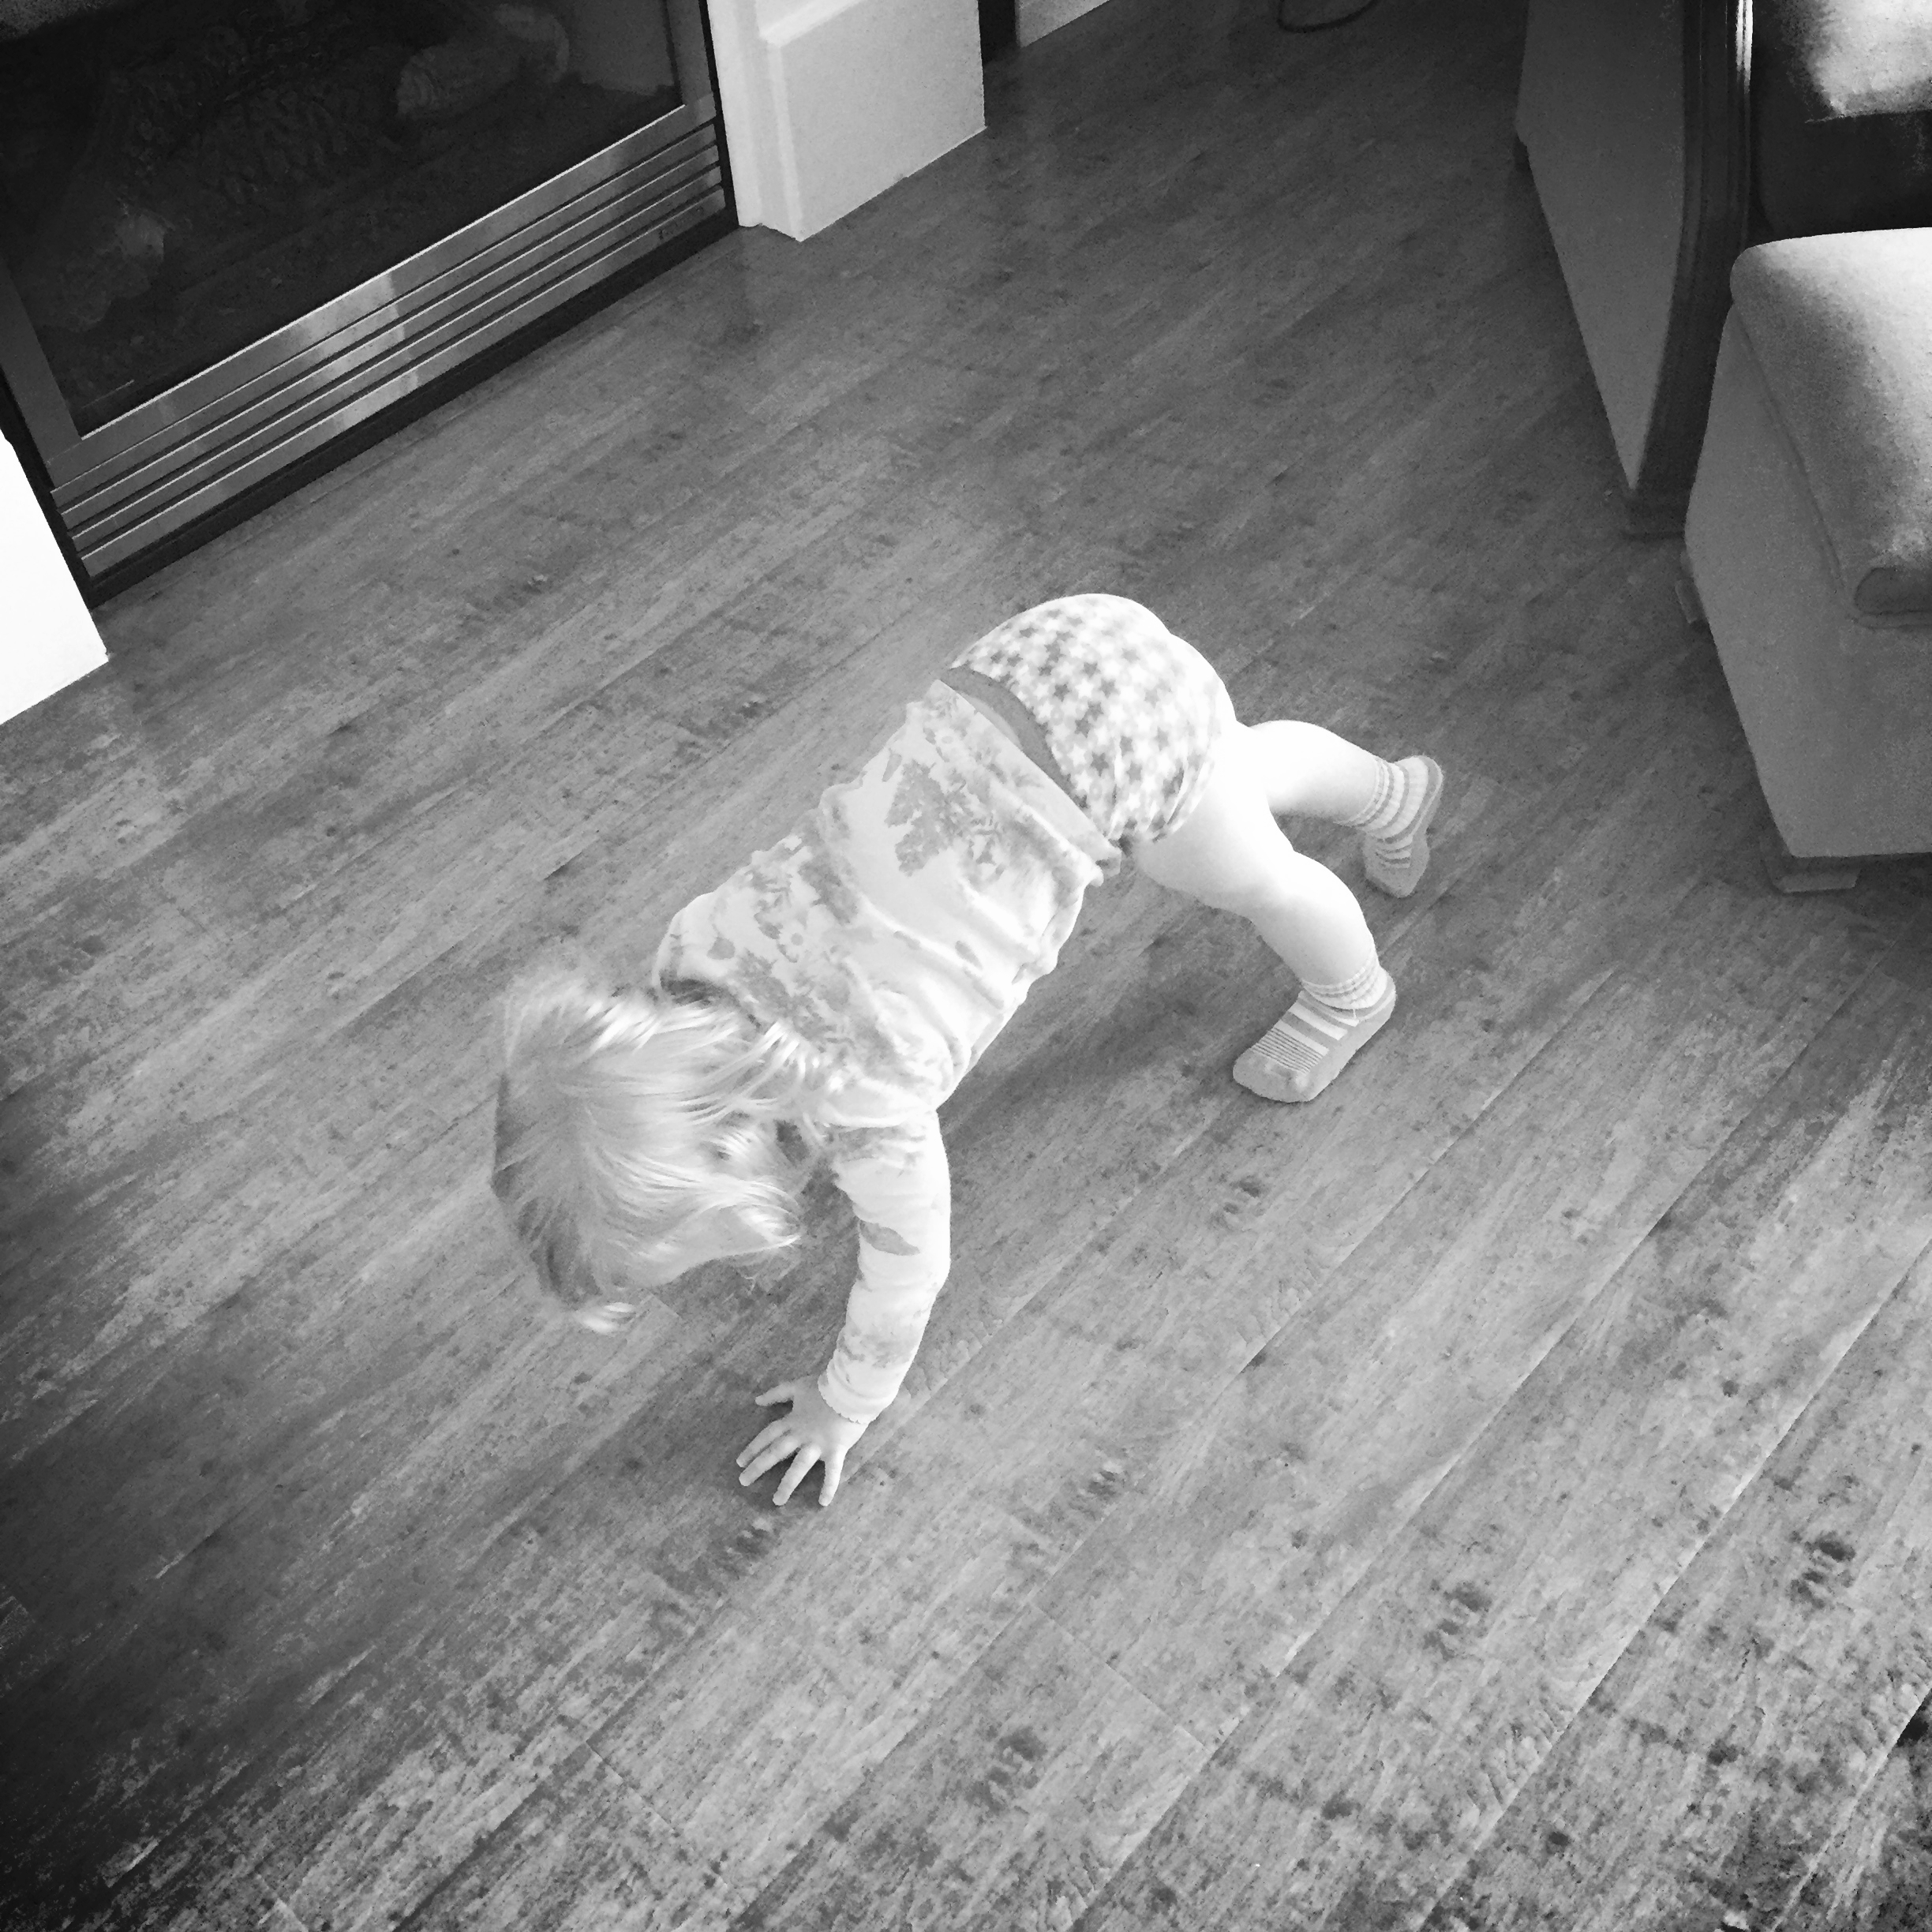
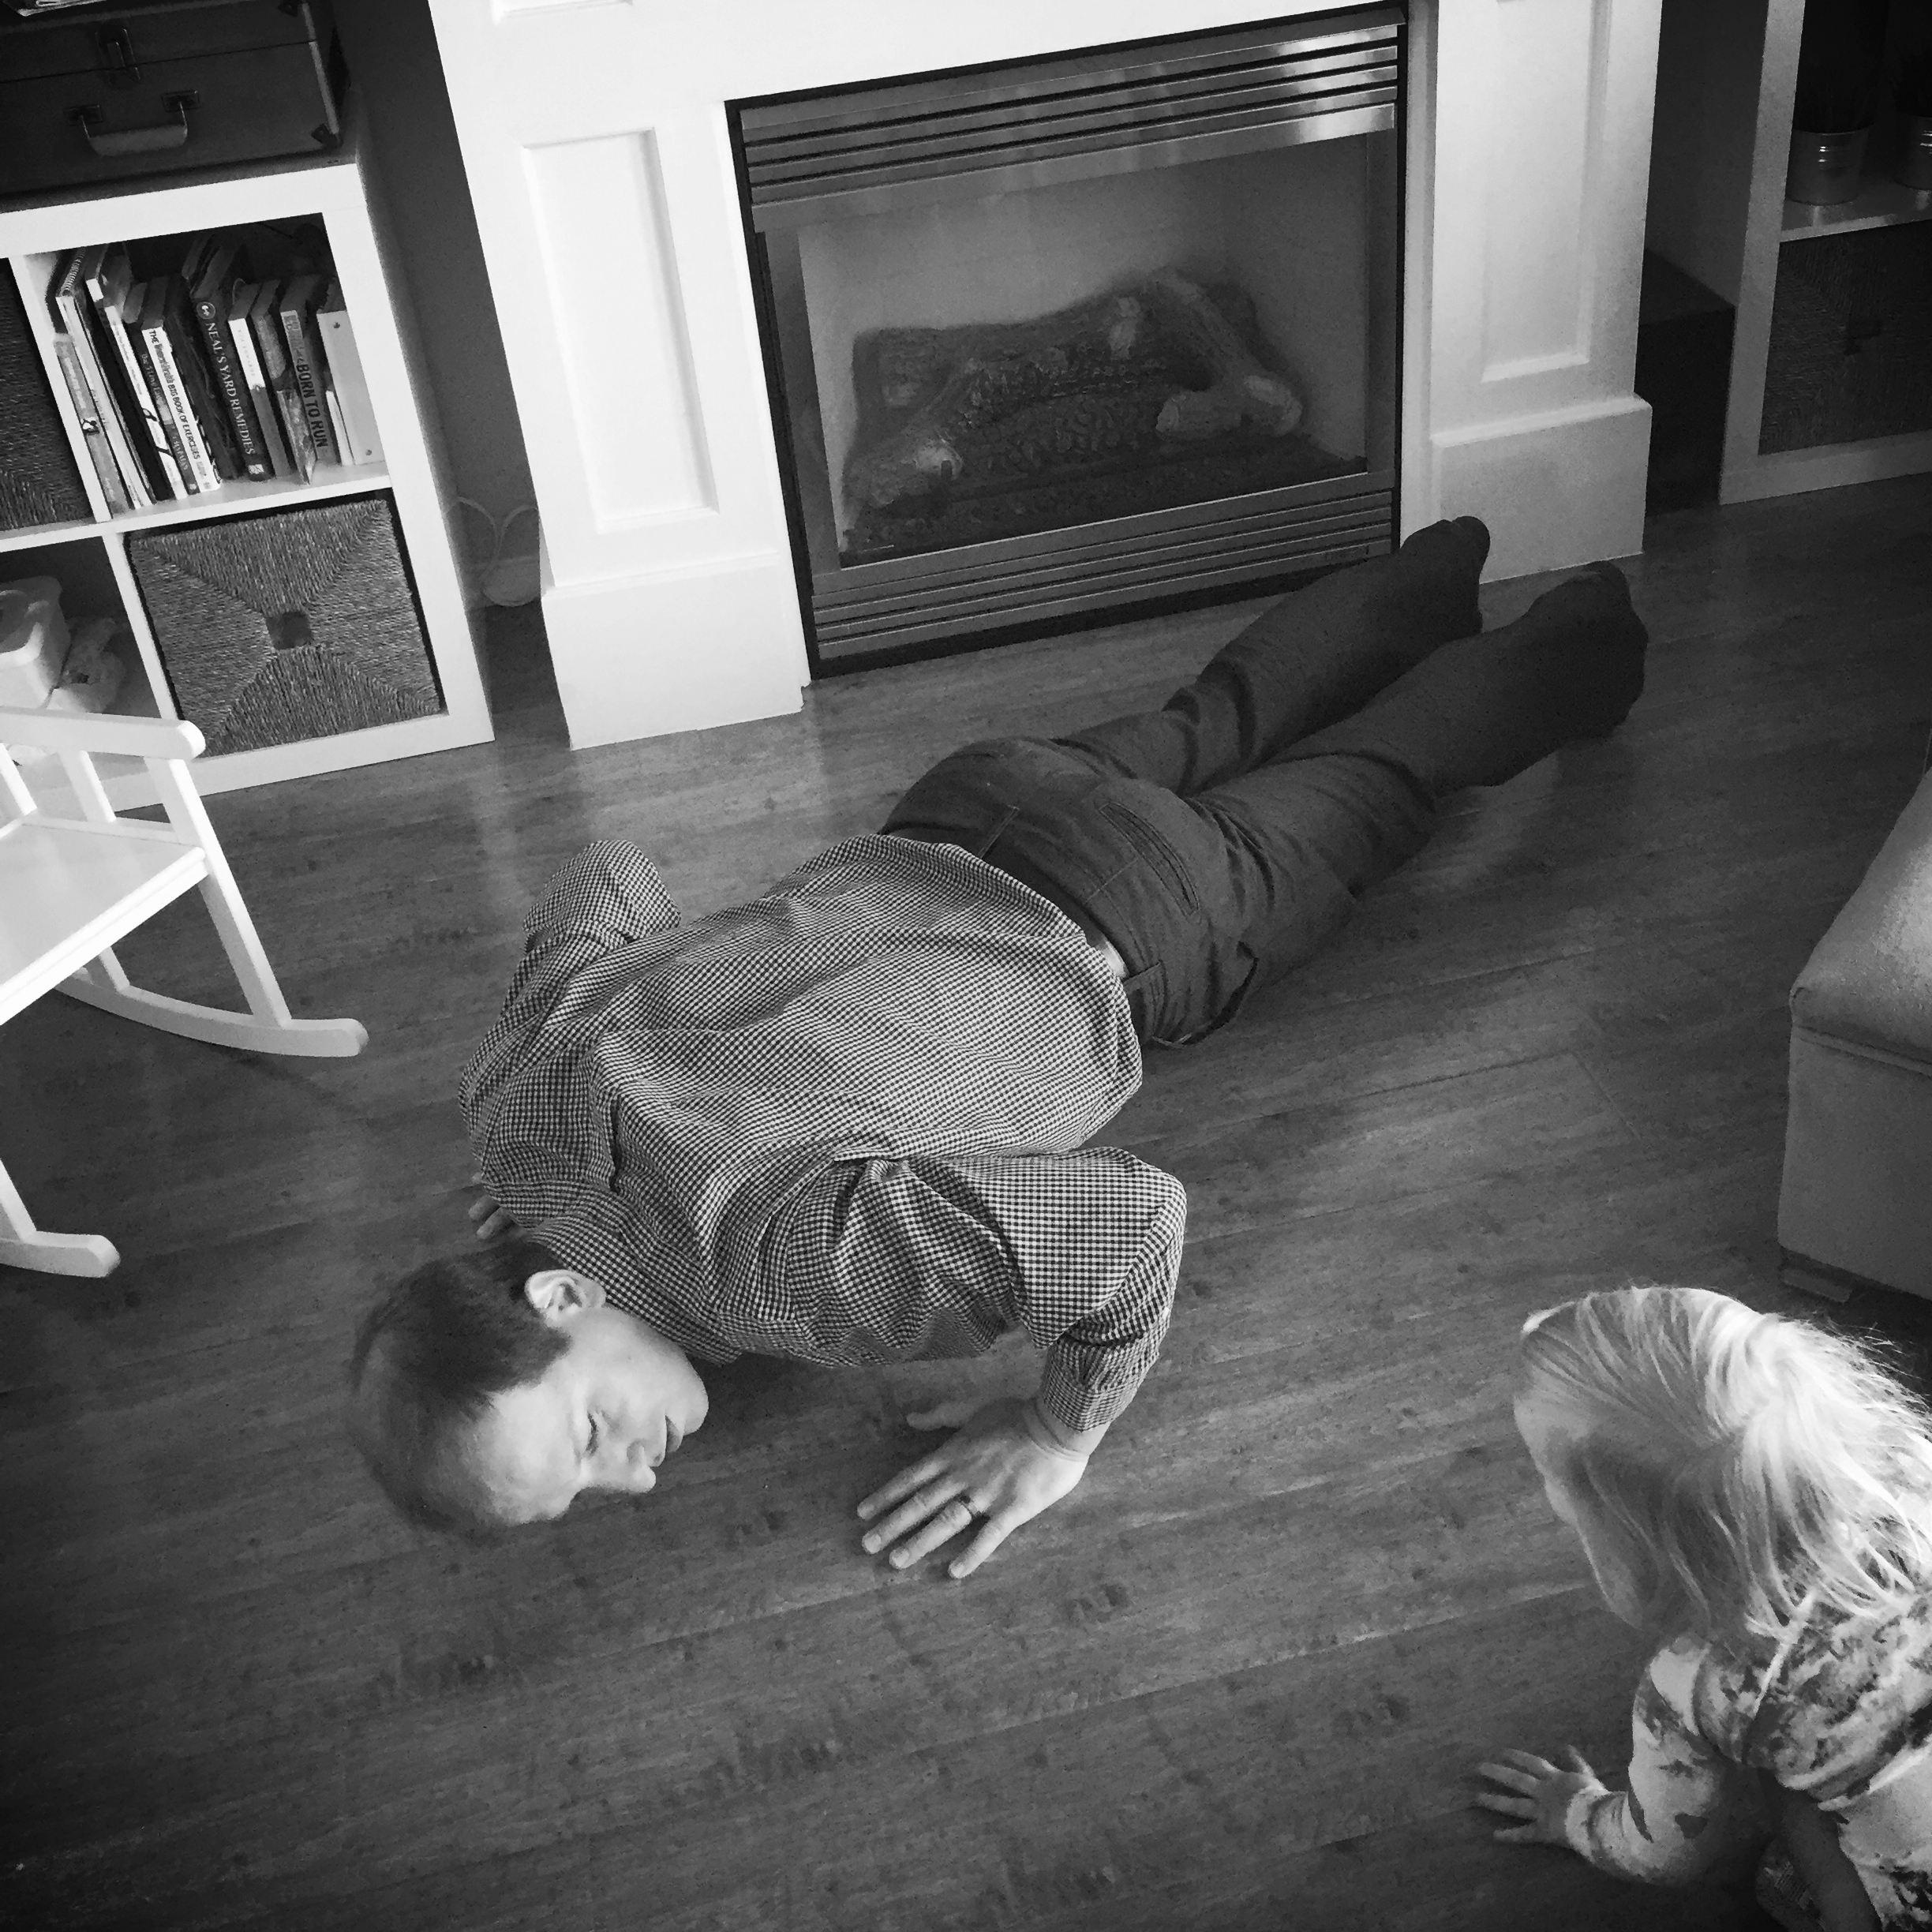
Eden trying to do a push-up and telling daddy he had to do one too…she is a great ring leader and hopefully one day will be a great leader! Lead by example mamas!


Please remember to consult with a medical professional before entering into an exercise regime.